|
Zap'Em Blast'Em Robots
robots that play laser tag!
|
|
Zap'Em Blast'Em Robots
robots that play laser tag!
|
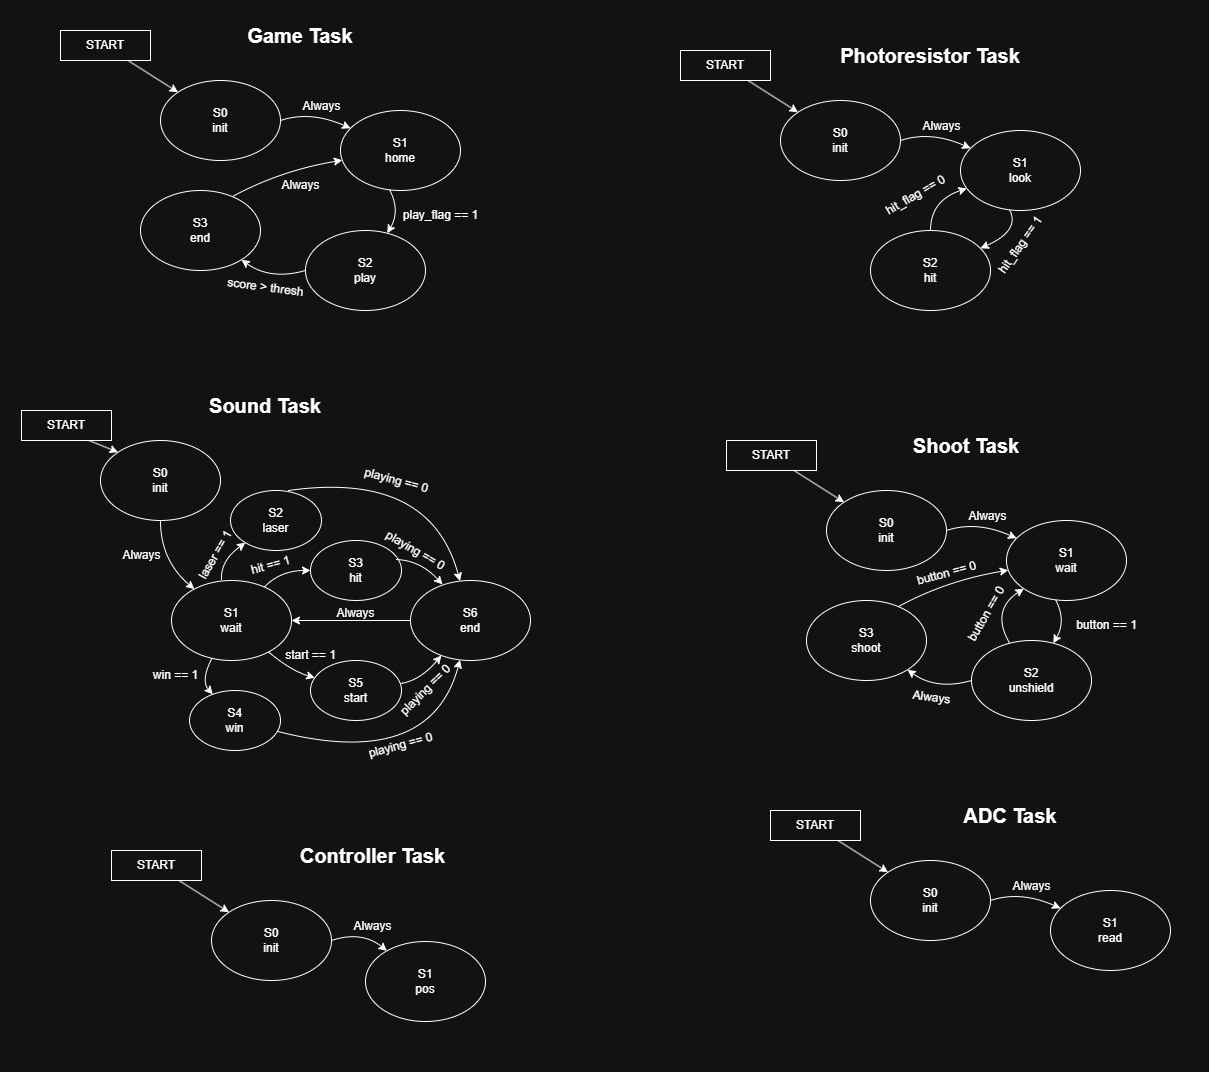
Our project utilizes a task-based architecture with finite state machines (FSM). It is written completely in C within the STM Cube IDE which enables us to design setup pins, timers, interrupts and DMA all within the ioc file.
Our FSMs were implemented using function pointers with "psuedo-object-oriented" methods. This was crucial in making our C code scalable, cooperative, organized, and easy to debug. In main.c, we run each task, with some conditions, in a round robin fashion. The laser, shield, and rotational controls are enabled or disabled depending on the state of the game. Calibration of the game, which includes photoresistors and dc motors, occurs at start up.
Our game was split into 6 tasks; however, the controller, photoresistor, and shoot tasks were duplicated for the blue and red fighters. Each task and its FSM are provided below.
Audio
After our PCB was ordered, we realized that adding audio to our game would enhance game mechanics and make it feel more like a real product. Luckily, we had one timer pin left that we had set aside as a spare attached to our 15-pin jsts. This allowed us to use intersective PWM mapping for audio signals which utilizes the low-pass filtering nature of a speaker along with the high frequency PWM abilities of our microcontroller. We take a mp3 audio file and convert it to a c array filled with audio signal voltage points. Then, we takes those points and adjust our duty cycle to represent them. Our PWM frequency runs twice as fast as the audio signal we are trying to represent which increases sound quality greatly. The sounds that we were trying to play were not particularly advanced which led to our system doing a great job at playing them. One interesting result of this method was how space inefficient it is. A 1 sec mp3 file turned into a c-array for our uses would almost 10x in size.
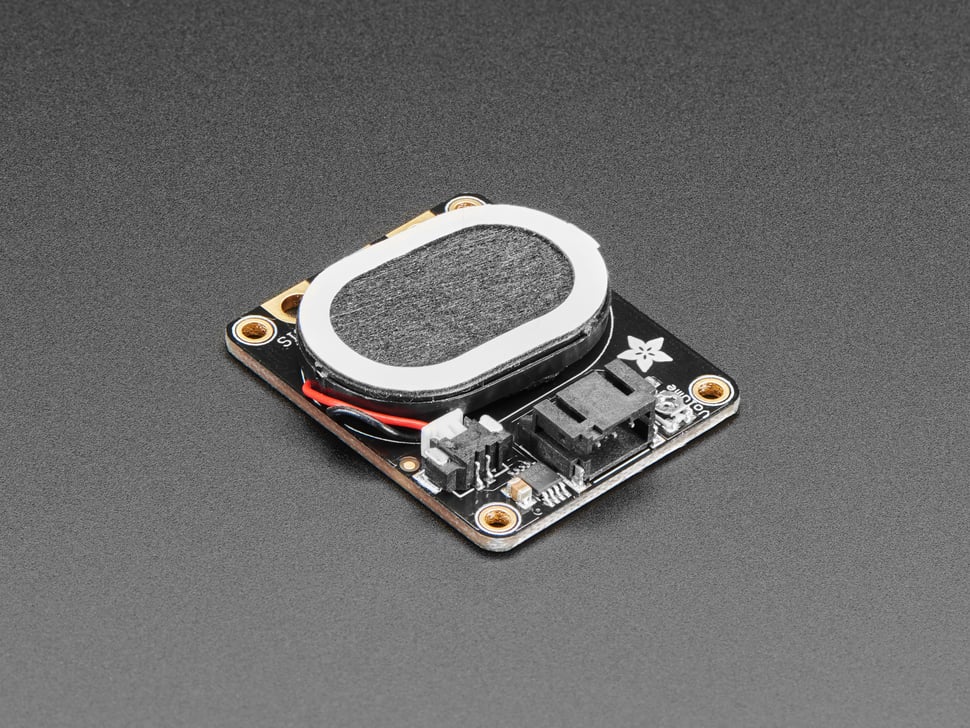
courtesy of Adafruit
Laser sensing
To sense the lasers, we use photoresistors attached to our onboard ADC. We use a voltage divider to split our output to a readable amount. Calibration is done on startup to take a reading of the current light in the room and to adjust our threshold value accordingly. When developing these, we spent over 3 hours thinking that our button was shorting into the photoresistor line because each time we would hit the button, the ADC value would maximize. This ended up being due to the shield raising at the same moment which allowed more sunlight to hit our photoresistor. To counter this, we created a 3D printed cover that was less sensitive to sunlight but was still sensitive to our laser.
Control
To control each players fighter, they utilize a joystick. As mentioned in mechanical design, this joystick is spring-loaded and can rotate on a potentiometer. Also, it has a button integrated on the top of it. The potentiometer controls the robot through a positional, proportional controller. In the development of the controller, we realized that having only proportional control gives the game a more springy feel which corresponds to the springy feel of the joystick. We implemented integral control for a moment but ended up removing to keep this game mechanic. The button is attached to an interrupt and is called on either edge change. This is because the laser and shield go up while the button is pressed and held. When the button is released, the shield comes down and laser turns off immediately.